| Item | Quantity |
|---|---|
| PVC Cement | 1 can* |
| 1" Sch. 40 PVC Pipe | 3 feet |
| 1" Sch. 40 PVC Elbow | 2 |
| 1" Sch. 40 PVC T-Connector | 2 |
| 1" Sch. 40 PVC End Cap | 4 |
| Hard plastic/nylon/teflon feet with nails, not adhesive. | 4 |
* One can will make more than 10 crutches.
Before you begin:
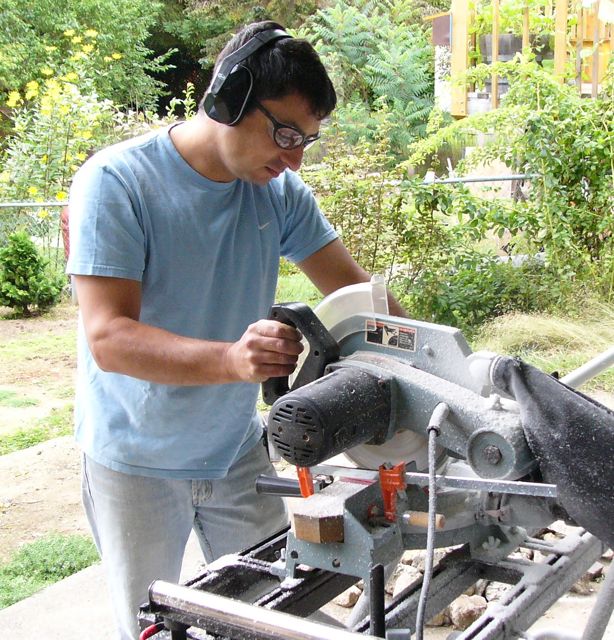
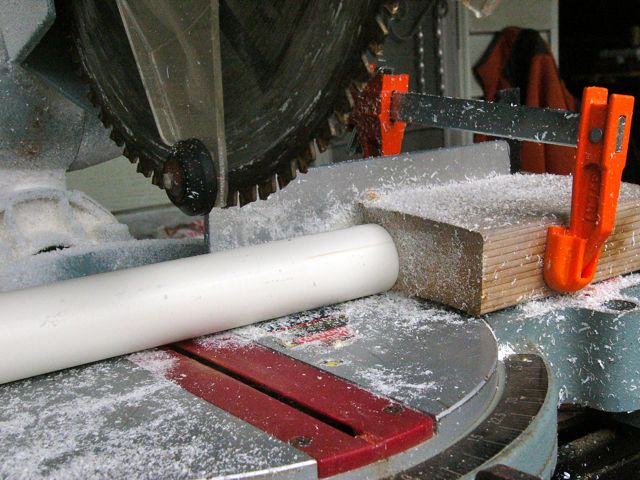
For each crutch, cut PVC pipe into 1 handle piece 11.5" in length, 2 riser pieces 4.5" in length, and 4 leg pieces 2.75" in length. If you're using a miter or chop saw and making multiple crutches, consider using a stop for multiple consistent cuts.
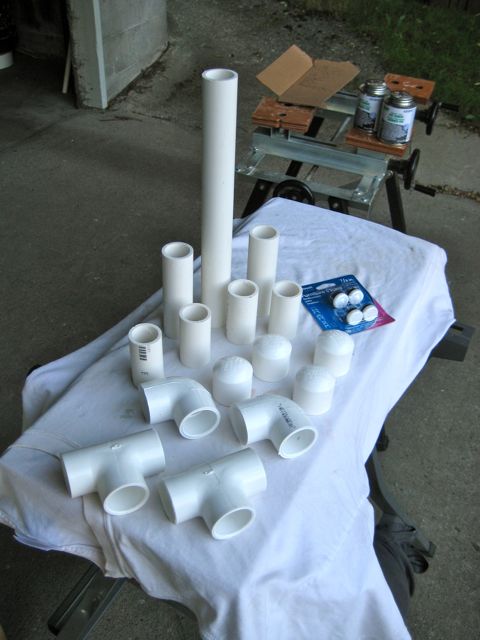
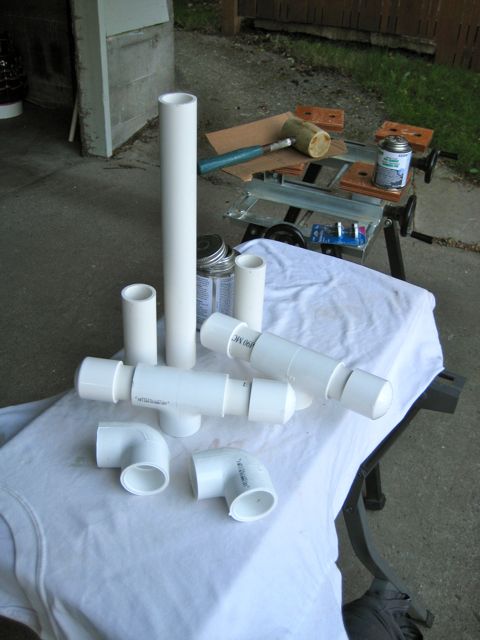
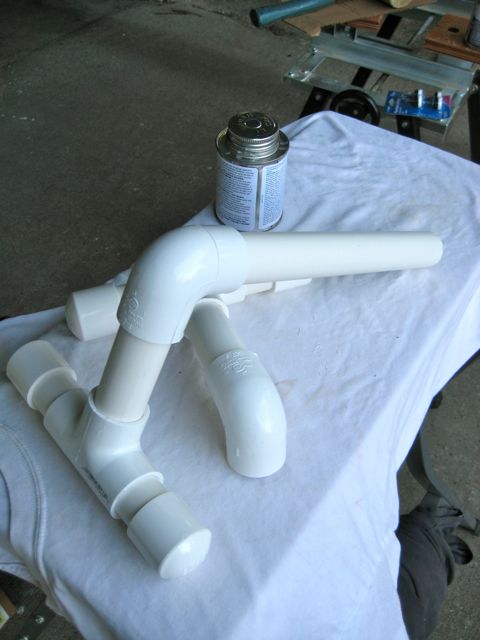
Before assembly, make sure parts are clean of cuttings and oil. Here are all of your parts:
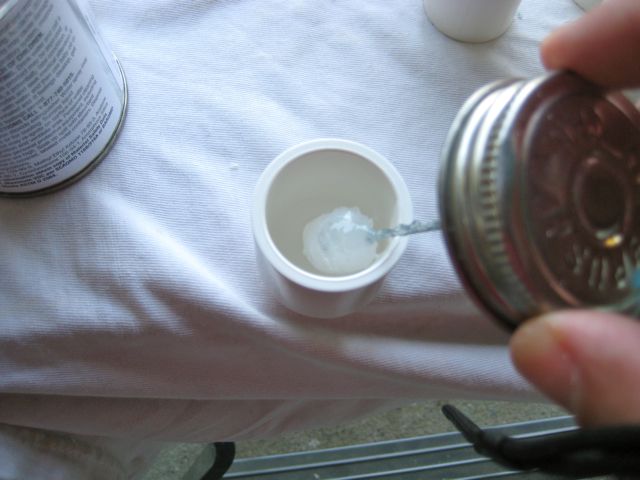
When using PVC cement, generously apply it to the inside surface of the female piece of a joint. You don't need to be neat, just make sure you get enough cement all the way around the joint. It firms up quickly after you put two pieces together, so only apply it right before permanently forming a joint. Twisting the two pieces together will usually bring them tight while ensuring good cement coverage.
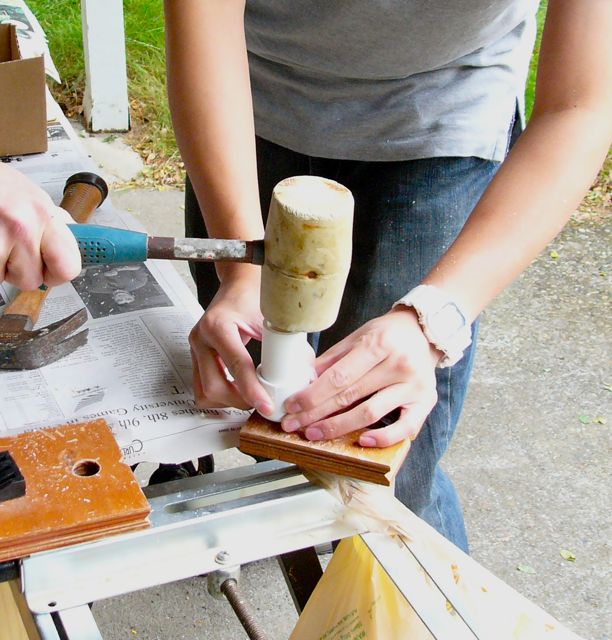
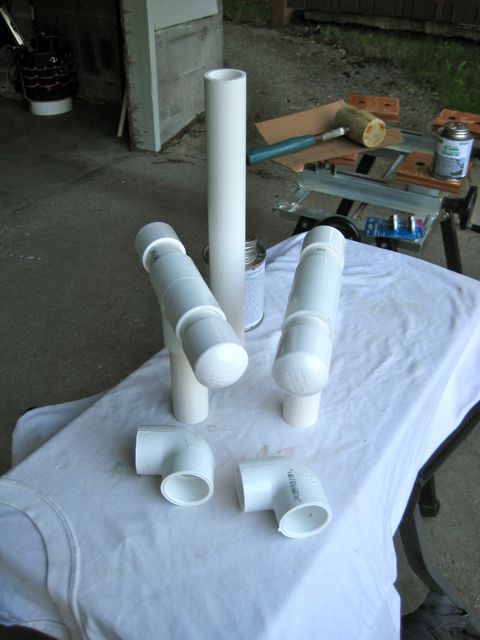
Cement end caps to each of the 4 leg pieces. Use a rubber mallet to quickly tap the joint tight before the cement sets.
Cement two feet to the opposing ends of each T joint, tapping them home with the rubber mallet. The remaining opening will eventually have the risers pointing up and supporting the handle.
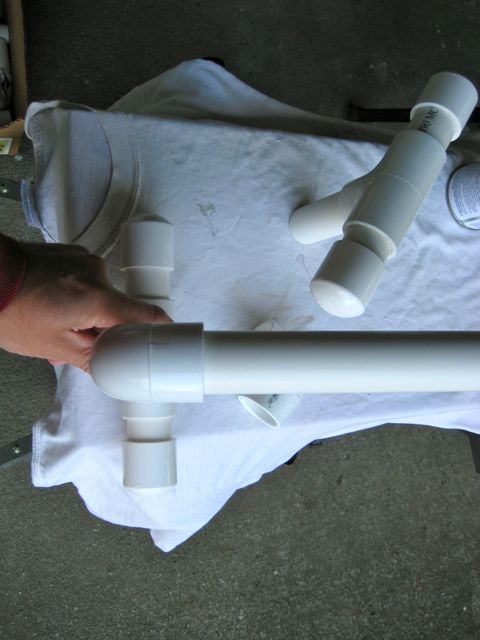
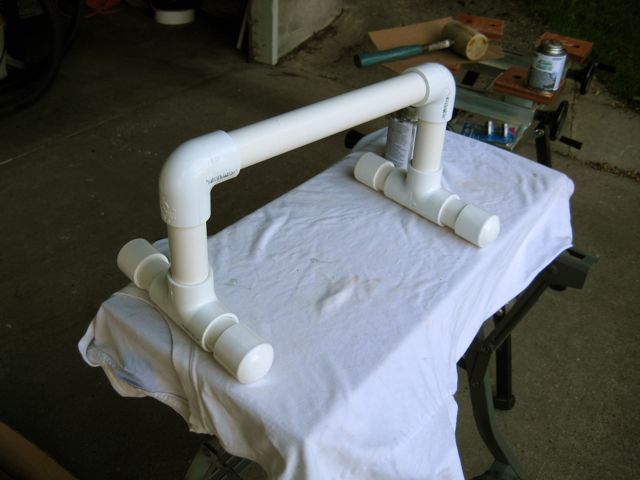
Cement a riser in each of the leg assemblies.
Cement an elbow joint on top of each riser perpendicular to the feet of the leg assembly. The easiest way to align the joint properly is to insert the handle DRY (no cement) into one end of the elbow so that you can use it as a level to adjust the joint as soon as you put it together.
Once you have attached an elbow to each riser, then glue the handle into ONE of the elbows/leg assemblies.
Alignment of the 2nd leg assembly is critical since you want all of the feet to sit flat. Find a truly flat surface that you'll use to check the alignment (outdoor concrete is often not sufficiently flat). As soon as you glue the joint, you'll have to act quickly to align the leg assembly, then tap it home with the mallet.
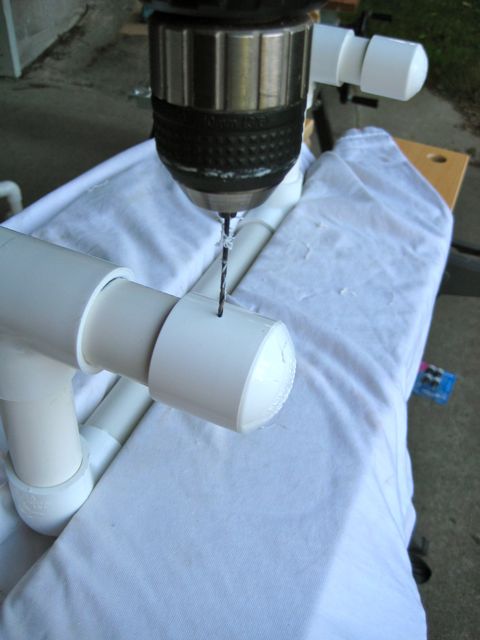
Now all you need to do is attach the slides. First, select a drill bit that is sufficiently smaller than the nail on the slides so that they will stay in place when hammered in. Then drill a hole in the bottom of each foot, about half-way out the end cap.
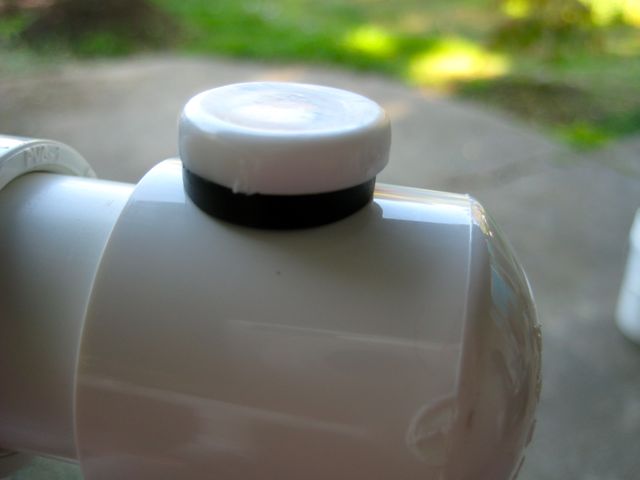
Carefully tap in the slide with a hammer.
You're done!